Retain Search
Contents |
Viewing Results
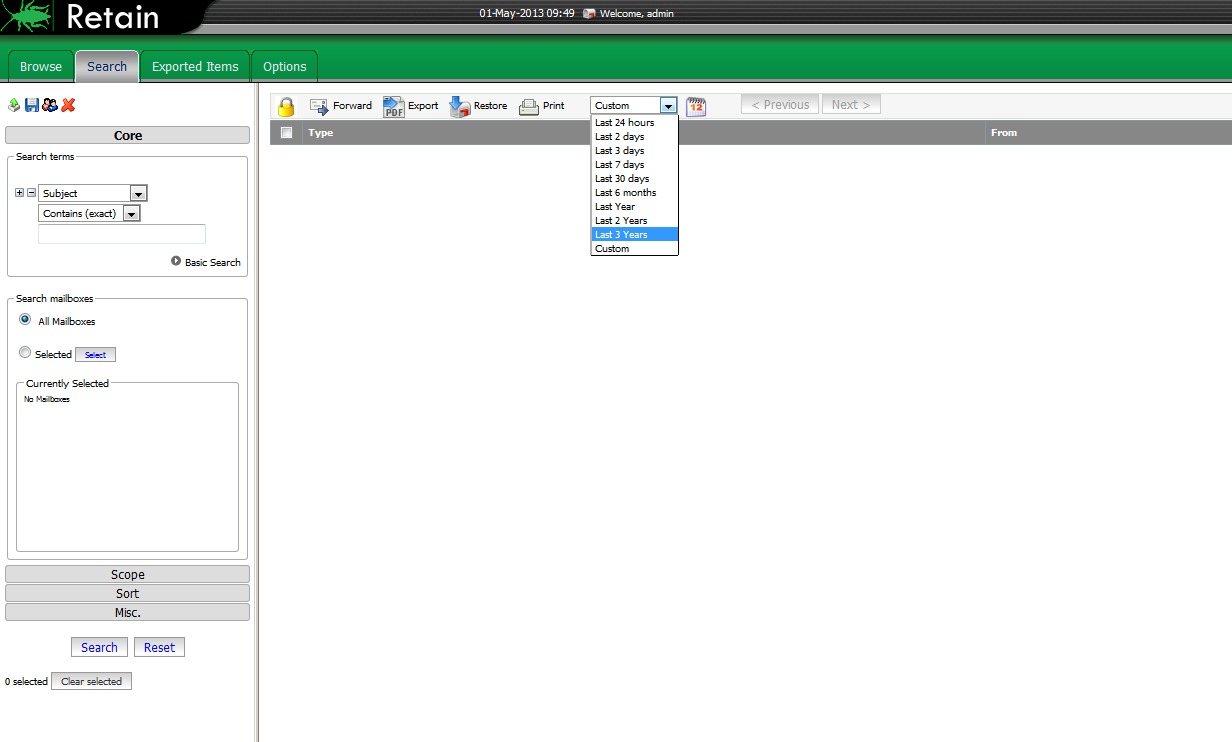
One tip in viewing search messages is to make sure the view is set to a date range to display the messages correctly. Click on the drop down menu and select the range (last 24 hours, 1 year, last 3 years); or, click on the calendar button and input a custom date range. If messages are not displaying after searching, check this first. It is vital that the view filter is set properly to display messages correctly.
After performing a search, the messages will be displayed in the right window pane.
This is where you can select items to print, forward, export, or read. To view messages on a different page, click on Next. Click on Previous to go back to the previous page.
The headers at the top of the pane tell you details of the message. These headers are hard coded and cannot be changed, added, or edited. At this time, they also cannot be sorted by clicking on them. If you wish to sort a different way, go to the Sort section and then search again; or, go to Miscellaneous under the Options tab to sort or change the view. Clicking on any of the blue wording on From, Subject, or Recipients will allow you to view the message.
- Type: This is the type of message that is being displayed. It displays in the form of an icon. The envelope icon is a simple mail message. It can be opened or closed, depending on if it was read on the email server prior to being archived. A message with a paperclip symbol next to it means the message contains an attachment.
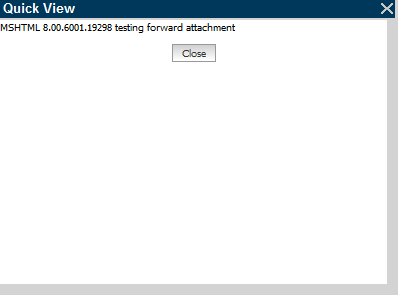
- QuickView: A feature that is only included in the Type part of the message is what is called the Quick View. Click on the icon to display a brief summary of what is in the message. This can make it easy to see what type of message it is, the subject, and simple text within the body of the message. It will not display full content however, such as attachment, To, and From information.
- From: This displays is who the message was from (the sender).
- Subject: This is the exact subject that is displayed for the message archived from the email system.
- Recipients: This is a list of users that the message was sent to. If it is in blue and has a + sign next to it, that means there were multiple recipients, including CC and BCC. Hover the mouse over the plus sign to view the other recipients of the message.
- Date: This is the creation date of the message. For appointments, the date will actually be the stored date in Retain.
- Mailbox: This category is the mailbox the message was archived from. Don’t get confused with the sender (from) or recipient (to). This is where the message was originally located in the email system when it was archived by Retain.
- Folder: This is the folder that the message was originally located in the email system and will match exactly the same folder in the Retain system.
How It Works
Source of the Data
Unlike when in the Browse tab, which gets its data strictly from the Retain database, when in the Search tab, the data is coming from the Lucene indexes. If anything is missing or incorrect, it is the Lucene indexes you'll want to troubleshoot.
See KB, "Where Data is Stored in Retain" for more information.
See the How It Works topic for a deeper discussion on indexes.


